Monday 25 September 2017

Susan Derges

Susan Derges is a contemporary camera-less photographer who specialises in creating photograms.
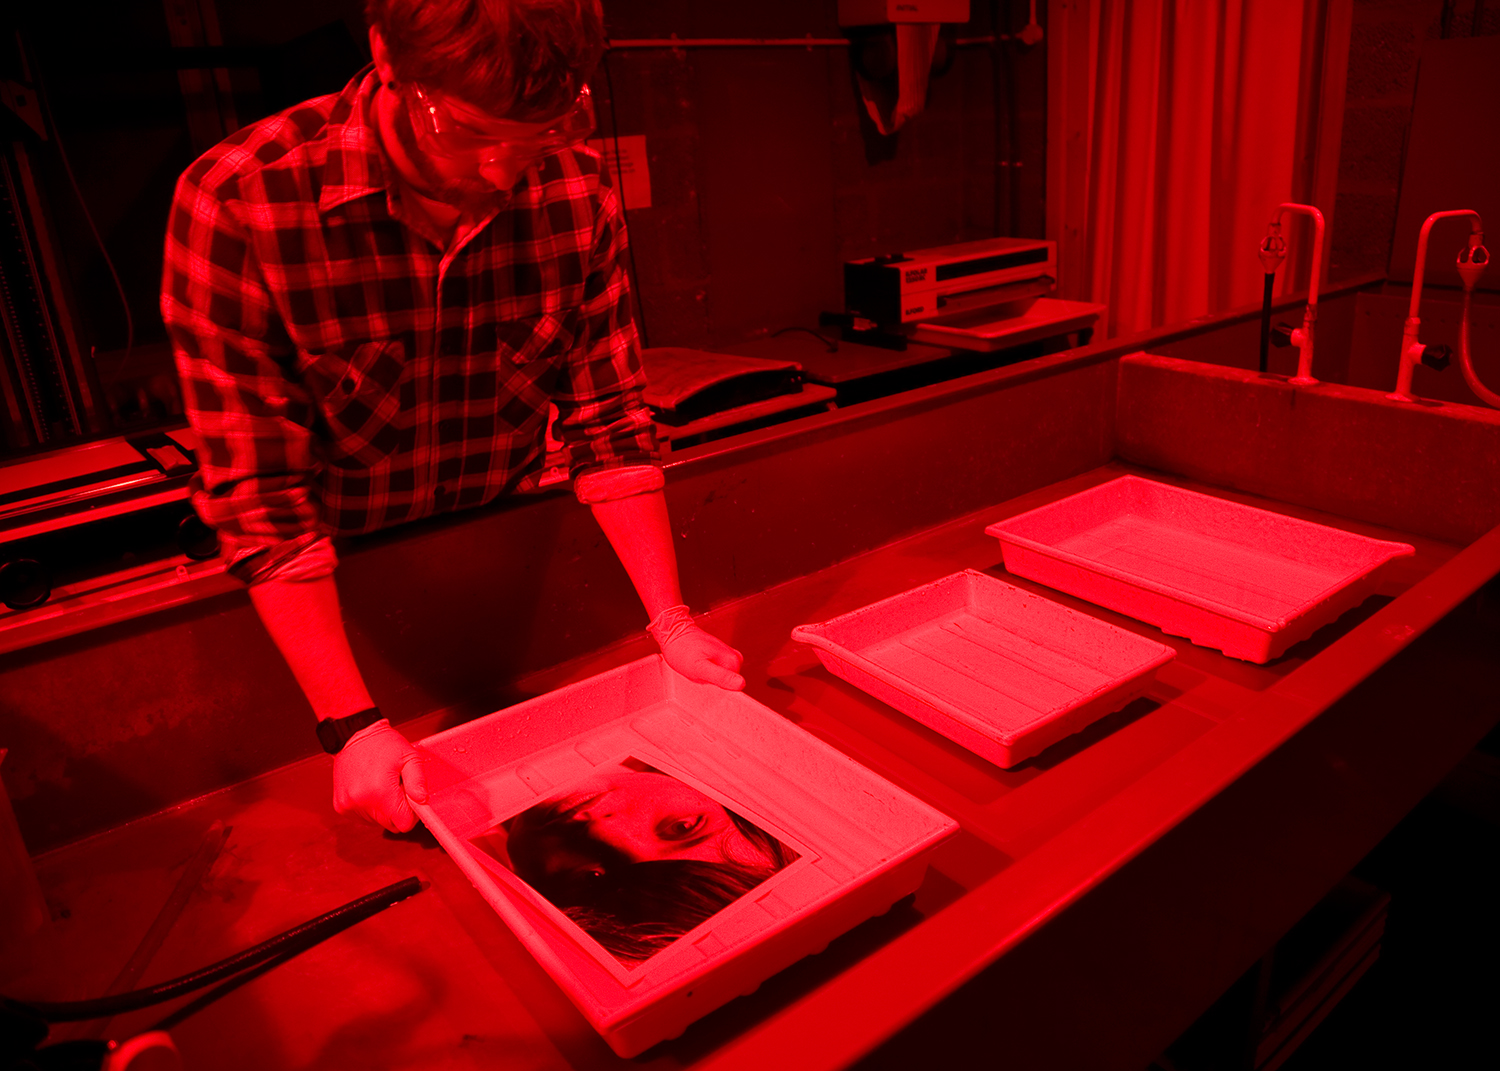
she uses a lot of  unique techniques, such as taking a slip of photographic paper and placing it in a river. by activating the flash she is able to achieve some spectacular work.
Susan started her studies of art and photography in nineteen seventy three, at the Chelsea College of Art and Design. where she started painting for three years before continuing her studying at the Slade school of art where she studied for two years. this is when she switched from art to photography. Susan moved to japan in nineteen eighty one.
 in the year nineteen eighty one Susan Derges received the Rotary foundation award .where she lived and worked four four years. while Susan was in japan, she experimented with photography, especially camera-less photography. in nineteen eighty five Susan published some of her work called the "Chladni figures" this effect on thew photographic paper was achieved by getting a slip of photographic paper and sprinkling Carborundum powder directly on to the photographic paper before  exposing it to sound waves on different frequencies. the work with the carborundum powder being sprinkled onto the photographic paper created some really great effects on the photographic paper. while Susan Derges was in Japan she carried on studying photography at Tsukuba Universithy between the years nineteen eighty six and nineteen ninty one.after coming back from japan she was given the title of lecturer at the University of Plymouth.

Susan Derges had an exhibition in the History of Science Museum in two thousand and one. in this exhibition she was showing some of her work where she was able to create some really powerful images by placing a slip of photographic paper in a river and using a light she was able to expose the photographic paper. by doing this Susan Derges was able to create a really nice effect on the photographic paper because she was able to get some photo-grams with the moon really clearly. Susan Derges found it difficult to keep the slip of photographic paper still in the river. Susan at last was able to find a way to hold the photographic paper with he finger tips in such a way that her finger tips would not show up on the photographic paper when the image is exposed and completed.
this exhibition was reviewed by the Guardian news paper who likened some of her pieces of art to some Chinese scrolls. they said this because some of her photo-grams include some flowers, the photo-grams with the flowers in look quite tranquil and fluent. this is why they were likened to some of the Chinese scrolls. Susan Derges goes out and takes her photo-grams using the dark to her advantage for example she says. "the whole night became my dark room" this quote is powerful because it demonstrates that Susan Derges is a very adaptable person who is able to improvise and to adapt to the world and how it works.  her river photo-grams are my favourite work that she has ever published because i like the amount of latteral thinking that would have happened in order to create the finished piece of work. i like the "chlidne figures" too because they show that there are almost endless opurtunities and experiments when it comes to usin slips of photographic paper in either an improvised dark room e.g. your garage, the entire world at night. or a professional dark room. the choices are infinite.
 the river photogram; http://www.prixpictet.com/portfolios/water-shortlist/susan-derges/
the picture example of the chladni figures: https://www.flickr.com/photos/gosesomer/6108056492


Thursday 21 September 2017

Technical skills

since i started my level 3 photography course at West Kent College i have learnt a variety of technical skills including how to use a pin hole camera, how to develop and print images from a film camera, and how to create a photogram.
Image result for photography dark roombefore my course started i was unaware on how to use anything other than digital SLR's. the first thing we learnt to do was how to create a photogram. to do this you have to take a slip of photographic paper. you should only ever get the photographic paper out of its box and packet when you are in either a dark room or the pitch black. this is because the photographic paper is very light sensitive and any light exposure it has will neutralise the slip of paper. then you place the paper under the enlarger, then place the items of your choice onto then sheet of photographic paper before exposing the slip of photographic paper for a previously selected amount of time e.g. 15 seconds. after doing this you put the paper through the chemical developing process. you must use the developing chemical first, then the stop chemical followed by the fixer chemical. there are a few different ways of using the developing chemical, such as submerging the paper completely in the chemical, you can also use a paint brush to select where you want the paper to develop, you can also use a spray bottle to create a more random pattern of development. if you chose to place the chemical fully in the developing chemical, you leave it in there for 2 minutes before placing it in the stop chemical for 10 seconds, and then in the fixer chemical for 1 minute. after this process, you should either place the slip of photographic paper in a specially designed dryer, or hang it up to dry preferably overnight.
Image result for pin hole camerai have also learnt how to use a pinhole camera since the start of my course. pin hole cameras are a very unique way of photography, because pin hole cameras have an almost limitless depth of field. making a pinhole camera  is easy, all you have to do is find an opaque container, that will let no light in, then you make a very small incision (pin size)onto either the side of the lid of the container. after this you place the slip of photographic paper in the box opposite the side of the hole in the container. secure the slip of paper with some double sided sticky tape. make sure that when you place the slip of photographic paper in the container, you do it in either a dark room or in the pitch black.  after placing the paper in the container but before leaving the dark room or the pitch black, you must seal the lid of the container with tape, and then cover the hole that you made.after this you take your pin hole camera out to where you would like to take your photo. then you expose your paper by lifting off the tape for the selected amount of time e.g. 30 seconds then you cover the hole up after then you take the pin hole camera home, and develop it in the same process as a photo-gram. a pinhole camera works the same way as a camera lens, by flipping the image and reflecting it on to the slip of photographic paper.
Image result for 35mm developed filmsince i started my course i have also learnt how to use a film camera, how to develop film, how to create a contact sheet and how to print images off the film using an enlarger. in order to create a contact sheet you get all of your developed film, you then place them in a film holder, you then get an 8 by 10 inches slip of photographic paper, and you place it under the film and expose it under an enlarger for a previously chosen amount of time, then you use the same process that you do for a photo-gram or a pin hole camera. after you have your contact sheet, you decide which photos you would like to print. you then place the film in the enlarger and make sure that you have the film centred. then you need to do a test sheet this is done by getting a 5 by 7 slip of photographic paper, and cutting it in half, then you place the paper under the enlarger and get a piece of card. you then use the card to only expose part of the image, then you expose the paper for 5 seconds at a time, while each time moving the card over therefore showing how the photo would look if it was exposed for 5,10,15,20,25 seconds. after deciding how long you are going to expose your image for, you create a final image. this is done by placing a 5 by 7 slip of paper, and then placing it under the enlarger. then you expose the paper for the previously selected amount of time. then you develop the image in the same way as you would develop a photo-gram.
sources:
https://en.wikipedia.org/wiki/135_film
https://www.scratchapixel.com/lessons/3d-basic-rendering/3d-viewing-pinhole-camera
https://www.solent.ac.uk/facilities/photography-dark-rooms

Wednesday 20 September 2017

Pin hole cameras.

In a pin hole camera, the pin hole is basically the lens. how pin hole cameras work is they capture the image, flip it upside down, and then use the light from the hole to expose the photographic paper inside the camera. pinhole cameras are really easy to create. you can make one out of a shoe box, a tin can, and you can even turn your digital camera into a pin hole camera by placing a bit of metal over the lens and making a tiny hole in the piece of metal. you can experiment with a pin hole camera a lot. changing the time of exposure can drastically change the image.  pin hole cameras also have an almost infinite depth of field because it has no lens to limit it. this creates a huge advantage on digital cameras.making a pinhole camera  is easy, all you have to do is find an opaque container, that will let no light in, then you make a very small incision (pin size)onto either the side of the lid of the container. after this you place the slip of photographic paper in the box opposite the side of the hole in the container. secure the slip of paper with some double sided sticky tape. make sure that when you place the slip of photographic paper in the container, you do it in either a dark room or in the pitch black.  after placing the paper in the container but before leaving the dark room or the pitch black, you must seal the lid of the container with tape, and then cover the hole that you made.after this you take your pin hole camera out to where you would like to take your photo. then you expose your paper by lifting off the tape for the selected amount of time e.g. 30 seconds then you cover the hole up after then you take the pin hole camera home, and develop it in the same process as a photo-gram. a pinhole camera works the same way as a camera lens, by flipping the image and reflecting it on to the slip of photographic paper.

Shutter speed and Aperture size

 a slow shutter speed will allow motion blur,  this means that the object you are photographing will be mostly in focus while the background will have a really blurry effect. having a fast shutter speed will freeze time, allowing you to capture some really powerful images. both of these effects can be amazing in different scenarios. fro example, a slow shutter speed will allow you to take a picture of moving traffic, and a quick shutter speed will be good for taking landscape pictures. where as wide apertures will create a shallow depth of field and allow you to single out one item or person. this is very useful as it creates very powerful photos. it is good for things like close up photos, it can also be used for portraiture.

Photograms

Photo-grams are brilliant because there are virtually endless opportunity's and experiments that you can try. you can do anything from a picture of your hand to a print of a 35mm camera film. in order to create a photo-gram you get a piece of photographic paper and any objects that you wish to experiment with.  the first thing we learnt to do was how to create a photogram. to do this you have to take a slip of photographic paper. you should only ever get the photographic paper out of its box and packet when you are in either a dark room or the pitch black. this is because the photographic paper is very light sensitive and any light exposure it has will neutralise the slip of paper. then you place the paper under the enlarger, then place the items of your choice onto then sheet of photographic paper before exposing the slip of photographic paper for a previously selected amount of time e.g. 15 seconds. after doing this you put the paper through the chemical developing process. you must use the developing chemical first, then the stop chemical followed by the fixer chemical. there are a few different ways of using the developing chemical, such as submerging the paper completely in the chemical, you can also use a paint brush to select where you want the paper to develop, you can also use a spray bottle to create a more random pattern of development. if you chose to place the chemical fully in the developing chemical, you leave it in there for 2 minutes before placing it in the stop chemical for 10 seconds, and then in the fixer chemical for 1 minute. after this process, you should either place the slip of photographic paper in a specially designed dryer, or hang it up to dry preferably overnight.

Health and safety in the dark room

Using the dark room can be a really interesting and fun experience. However, it can also  be a very dangerous environment. there are a lot of hazardous chemicals that can cause devastating and sometimes permanent effect. in order to minimise the risks of being harmed by these chemicals you should behave in a sensible manor. you may also use the developing chemical with a paintbrush in order to select the parts of the photo-gram tat you wish to develop. if you do this make sure that you are controlling the brush in order to stop the chemical from flicking in to someones eye. mixing the chemicals can also be bad, its okay to move the photographic paper from the developer to the stop to the fixer, but you cant do mix the chemicals in any other way because this could cause the chemicals to become useless.
when you are in the dark room it is very important to clean up after yourself and respect other people. for example getting your phone out in the dark room could neutralise there photographic paper.
cleaning up after yourself is also very important because it is really dark so anything left on the floor could be a trip hazard.


Tuesday 19 September 2017

Henry

in the darkroom i started off by making a photogram of a set of apple headphones. i was not happy, and thought i could reach a higher standard of photography so i tried to fan out all of the credit cards, it looked okay. i then tried using a voucher and used a paint brush to select what  i wanted to develope. i was really happy with the outcome. Stephen was there.

Hello

evaluating class work

   You are going to look at another person's work 1.Firstly use 5 words to describe that work monochromatic, ordered, monumental...