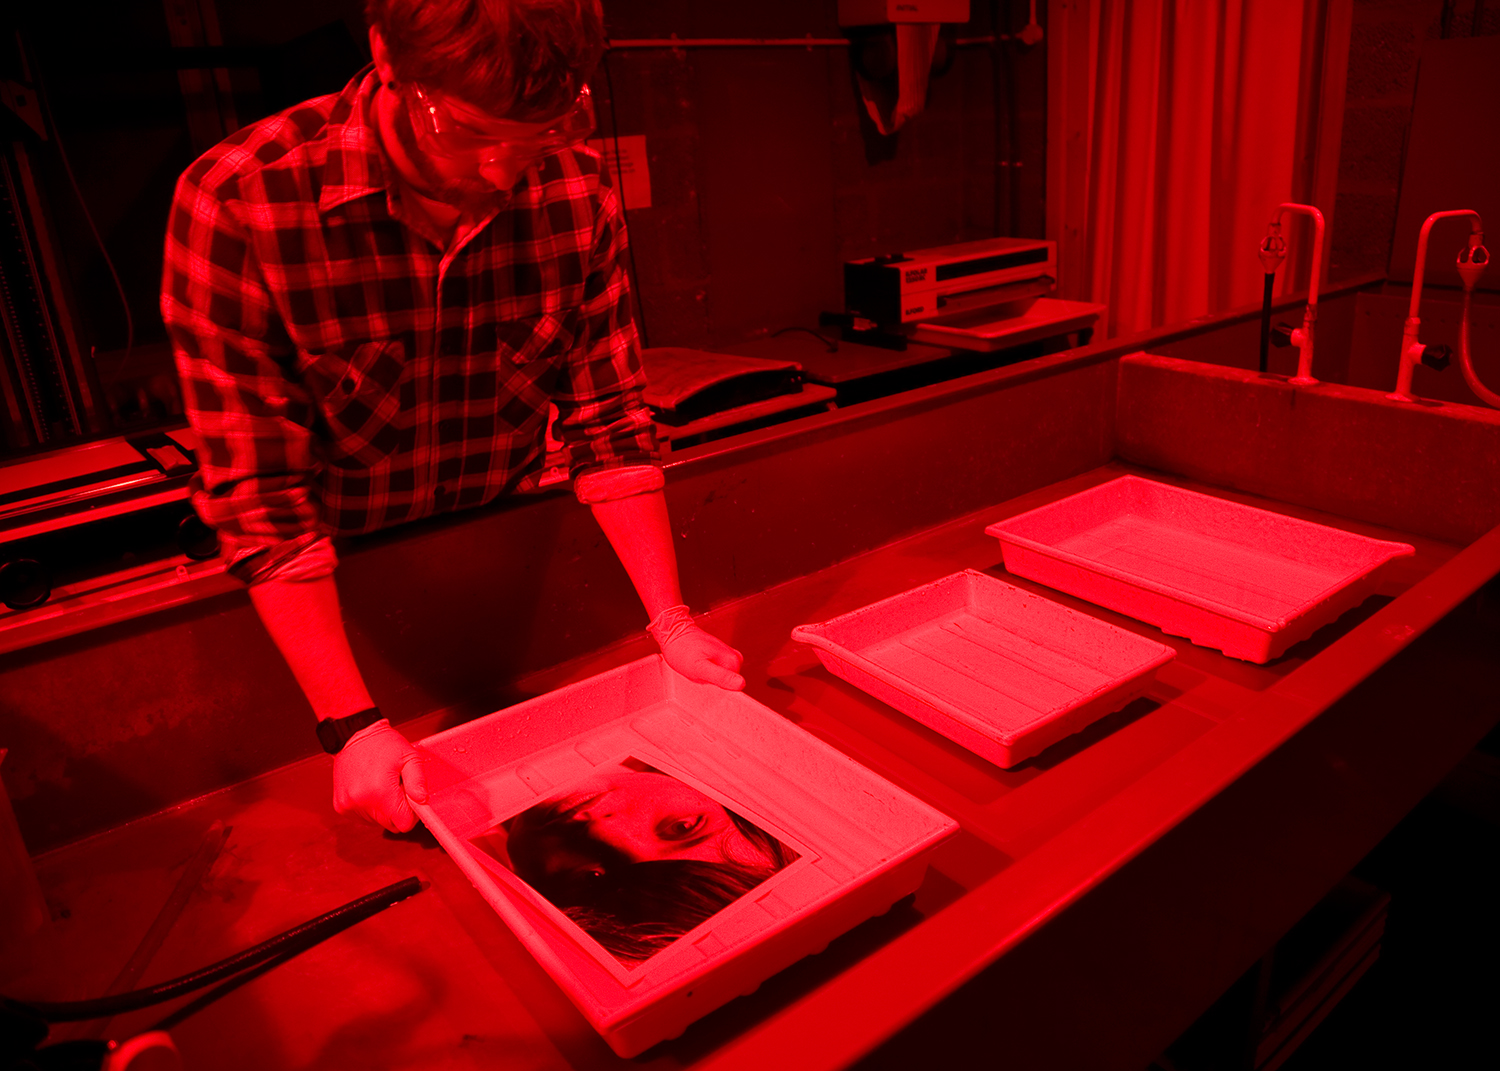
 before my course started i was unaware on how to use anything other than digital SLR's. the first thing we learnt to do was how to create a photogram. to do this you have to take a slip of photographic paper. you should only ever get the photographic paper out of its box and packet when you are in either a dark room or the pitch black. this is because the photographic paper is very light sensitive and any light exposure it has will neutralise the slip of paper. then you place the paper under the enlarger, then place the items of your choice onto then sheet of photographic paper before exposing the slip of photographic paper for a previously selected amount of time e.g. 15 seconds. after doing this you put the paper through the chemical developing process. you must use the developing chemical first, then the stop chemical followed by the fixer chemical. there are a few different ways of using the developing chemical, such as submerging the paper completely in the chemical, you can also use a paint brush to select where you want the paper to develop, you can also use a spray bottle to create a more random pattern of development. if you chose to place the chemical fully in the developing chemical, you leave it in there for 2 minutes before placing it in the stop chemical for 10 seconds, and then in the fixer chemical for 1 minute. after this process, you should either place the slip of photographic paper in a specially designed dryer, or hang it up to dry preferably overnight.
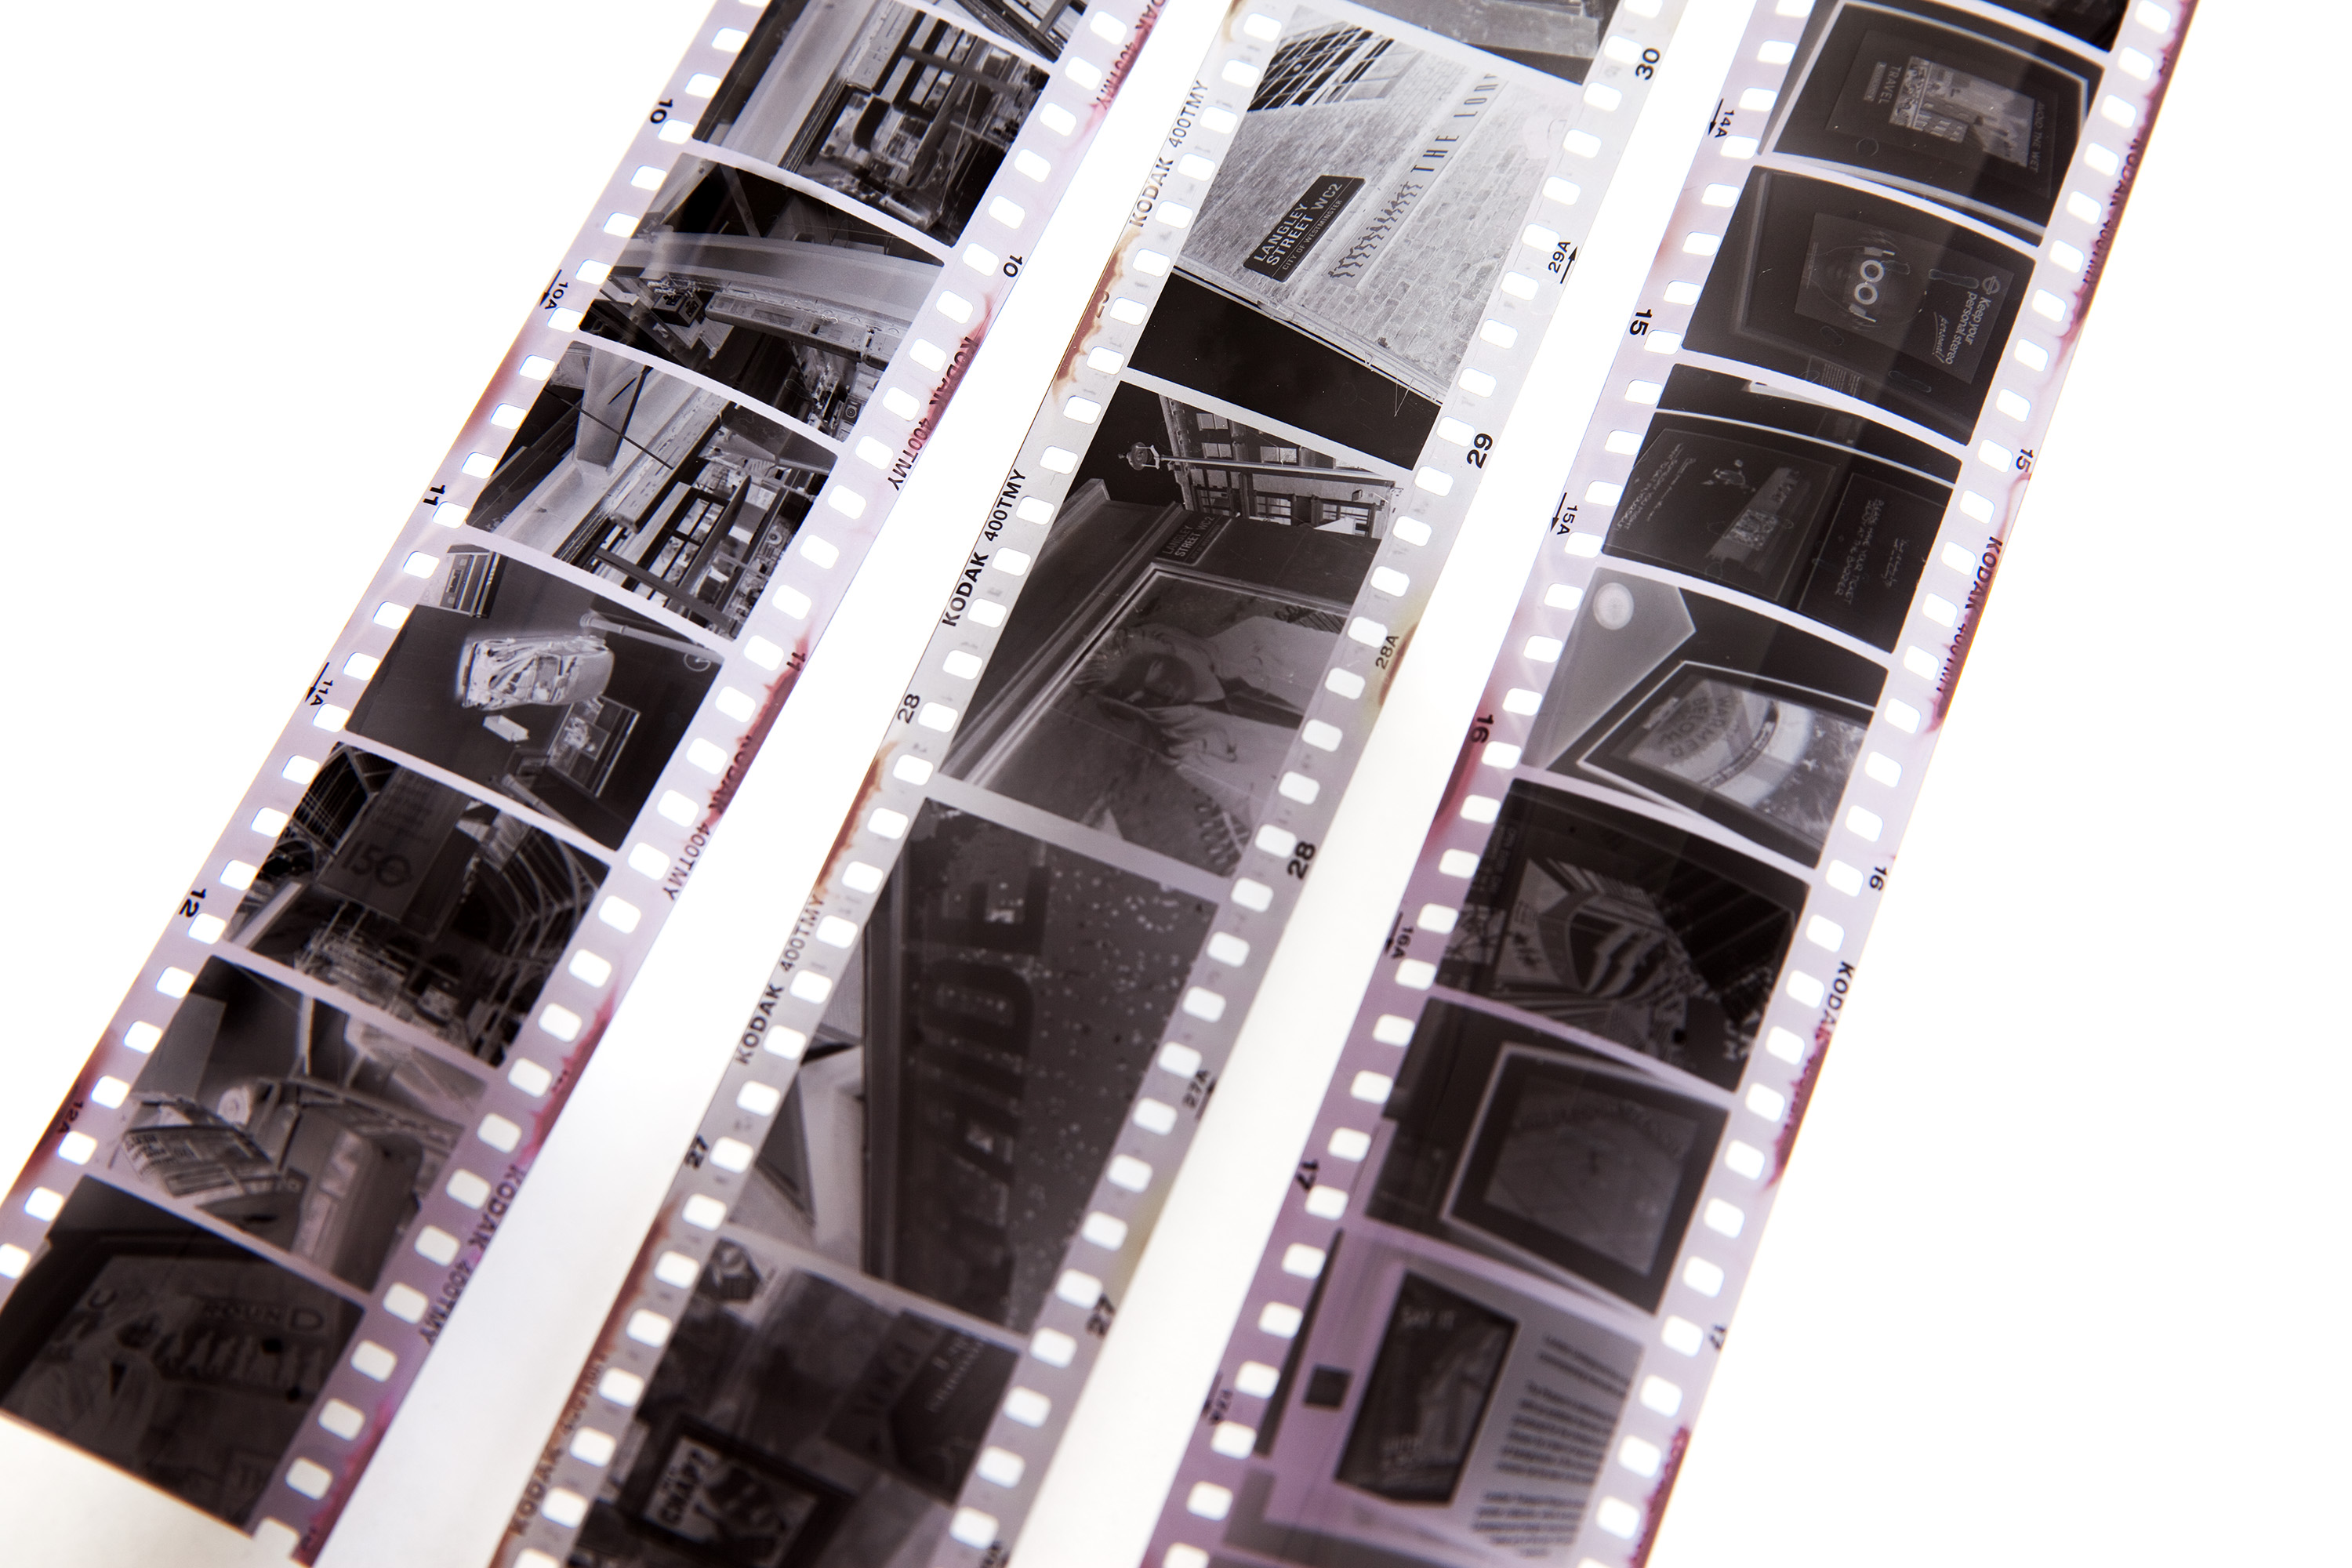
 since i started my course i have also learnt how to use a film camera, how to develop film, how to create a contact sheet and how to print images off the film using an enlarger. in order to create a contact sheet you get all of your developed film, you then place them in a film holder, you then get an 8 by 10 inches slip of photographic paper, and you place it under the film and expose it under an enlarger for a previously chosen amount of time, then you use the same process that you do for a photo-gram or a pin hole camera. after you have your contact sheet, you decide which photos you would like to print. you then place the film in the enlarger and make sure that you have the film centred. then you need to do a test sheet this is done by getting a 5 by 7 slip of photographic paper, and cutting it in half, then you place the paper under the enlarger and get a piece of card. you then use the card to only expose part of the image, then you expose the paper for 5 seconds at a time, while each time moving the card over therefore showing how the photo would look if it was exposed for 5,10,15,20,25 seconds. after deciding how long you are going to expose your image for, you create a final image. this is done by placing a 5 by 7 slip of paper, and then placing it under the enlarger. then you expose the paper for the previously selected amount of time. then you develop the image in the same way as you would develop a photo-gram.
sources:
https://en.wikipedia.org/wiki/135_film
https://www.scratchapixel.com/lessons/3d-basic-rendering/3d-viewing-pinhole-camera
https://www.solent.ac.uk/facilities/photography-dark-rooms
No comments:
Post a Comment